
Formations
Master Command An Army troop commands — Follow, Hold, Attack and Rush — and learn the formations that break enemy lines and protect your points.
Introduction
Formations are the tactical core of Command An Army — the four troop commands let you direct your entire AI squad with a single input, and mastering them is what separates commanders from spectators. Follow keeps your squad glued to your position so you can reposition on the fly; Hold plants your squad on a point to defend it from capture; Attack drives the whole squad forward to overwhelm an enemy objective; and Rush trades defense for burst speed, letting you grab uncontested points or chase retreating enemies before they regroup. Each command has a best-use scenario, and the strongest players switch between them constantly as the capture bar moves around the map. This page breaks down every command, explains the attack versus defense mindset behind each formation, and shares the positioning tips that top commanders use to break enemy lines and protect their own points. Whether you are holding a chokepoint with a Shieldman wall or split-pushing two points with cavalry, knowing which command to use — and when — decides the match.
Formation Command Reference
| Command | Behavior | Best Used For | Risk |
|---|---|---|---|
| Follow | Squad stays glued to you | Repositioning and escorting | No point defense |
| Hold | Squad defends the area | Protecting capture points | Slow to rotate |
| Attack | Squad pushes forward | Overwhelming objectives | Overextension |
| Rush | Burst speed forward | Uncontested captures / chase | Fragile, no backup |
Command Breakdown
Follow
Keep your squad with you and reposition on the fly.
Hold
Plant your squad on a point and defend it from capture.
Attack
Drive your whole squad forward to overwhelm an objective.
Rush
Burst speed to grab uncontested points or chase retreats.
Core Mechanics
Each formation command in Command An Army changes how your AI squad behaves, and switching between them is the real-time strategy layer of the game. Follow is your default mobility state: the squad tracks your commander and moves with you, making it ideal for rotating across the map and repositioning without re-issuing orders. Hold converts the squad into a defensive unit that stays in place and fights anything entering its zone — the foundation of any defense, because a squad on Hold contests the capture bar even if it is outnumbered. Attack reverses that posture: the squad pushes aggressively toward the objective, engaging defenders and stacking with your teammates to accelerate a capture. Rush is a tempo tool that sacrifices defensive readiness for burst speed — perfect for uncontested objectives and chase-downs, but deadly if used into a prepared defense. The skill is knowing when to switch: top commanders cycle through all four commands within a single engagement, holding a point while a Lancer rushes to flip an open objective and an Attack order collapses a contested zone the moment the enemy commits. Formation choice is also map-dependent — open lanes reward Rush and Follow, tight chokepoints reward Hold and coordinated Attack.
Advantages
Mastering formations is the highest-leverage skill in Command An Army because it multiplies the value of every troop you own. A squad of average units on Hold can defend a point against stronger attackers, while the same squad on Attack can flip an objective the enemy assumed was safe. Command switching gives you real-time tactical control that most players never learn — the ability to fake a push with Follow, stall with Hold, collapse with Attack and flip open points with Rush turns every match into a series of decisions you control instead of reactions to the enemy. Formations also make team coordination easier: when everyone understands the commands, a simple call to stack or split-push produces instant map-wide results. For free-to-play players, formation skill partially offsets roster disadvantage — a well-commanded B-tier army can outplay a poorly-commanded S-tier one, because positioning and timing matter more than raw stats in capture-point combat.
Challenges
Formations have clear limitations that cost games when ignored. Hold leaves your squad stationary and slow to rotate — if the point you are defending flips elsewhere, your squad cannot respond in time. Attack and Rush create overextension risk: pushing too deep with no backup hands the enemy free kills and leaves your own points undefended. A squad mid-Rush is fragile and will lose to defenders waiting in Hold, so tempo commands must be used with map awareness, not reflex. Command switching also requires attention; players who forget to change formations effectively play with a static squad, wasting the entire system. Finally, formation success depends on teammates — a split-push plan fails if nobody else commits, and a coordinated Attack is wasted when the team is scattered. Formations are a tool, not a solution: they amplify good positioning and team play, but they cannot fix bad map reads or absent coordination.
Frequently Asked Questions
What is the best formation command in Command An Army?+
When should I use Rush instead of Attack?+
How do I coordinate formations with my team?+
Quick Tips
Cycle commands constantly — top commanders switch between Follow, Hold, Attack and Rush within a single fight as the capture bar moves. The point you defended ten seconds ago can be open now, and the objective you pushed can be lost the moment you look away. Keep your attention on the capture bar and re-issue a command every time the fight shifts to a different zone.
Never leave a captured point empty: one squad on Hold stalls the enemy capture long enough for your team to rotate and defend. Even a single weak unit inside the zone contests the bar and forces the enemy to commit real resources to flip it. Defenders win by making every capture expensive, and empty points hand the enemy free map control.
Use Follow to fake a push — move toward a point with your squad, then peel away once the enemy commits defenders, opening the real objective. The feint works because Follow keeps your squad mobile and your intent ambiguous until the last second. When the defense rotates to meet your fake, your Lancer squad can Rush the actual target while their defenders are out of position.
Rush only uncontested points; rushing into a prepared Hold defense is the fastest way to feed the enemy free kills. The burst-speed command trades defensive readiness for tempo, which only pays off when the objective is empty or nearly so. If the capture bar shows active enemy presence, switch to Attack with backup or peel away entirely rather than committing a fragile squad to a losing fight.
Featured
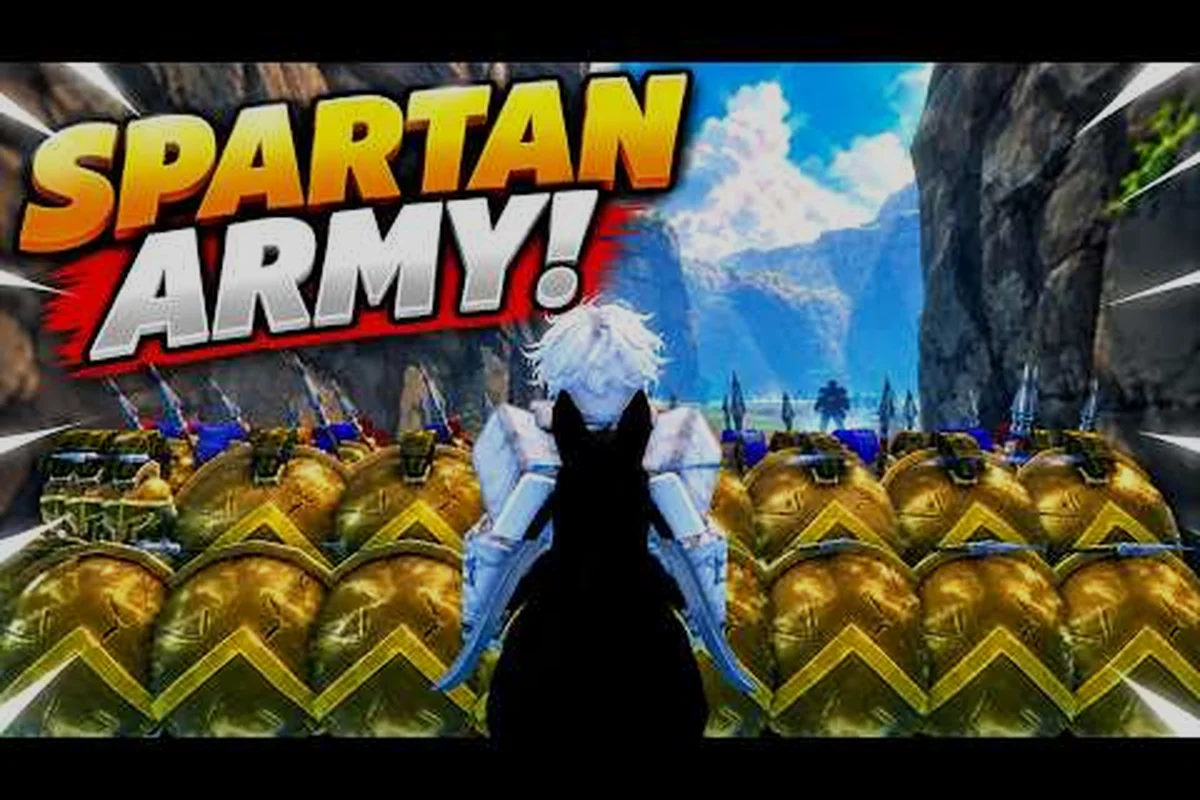
Command An Army Attack Formation: Push, Split, And Flank Tactics
Break through with the Command An Army attack formation playbook, covering push, split, and flank setups that flip capture points and crush defending squads.
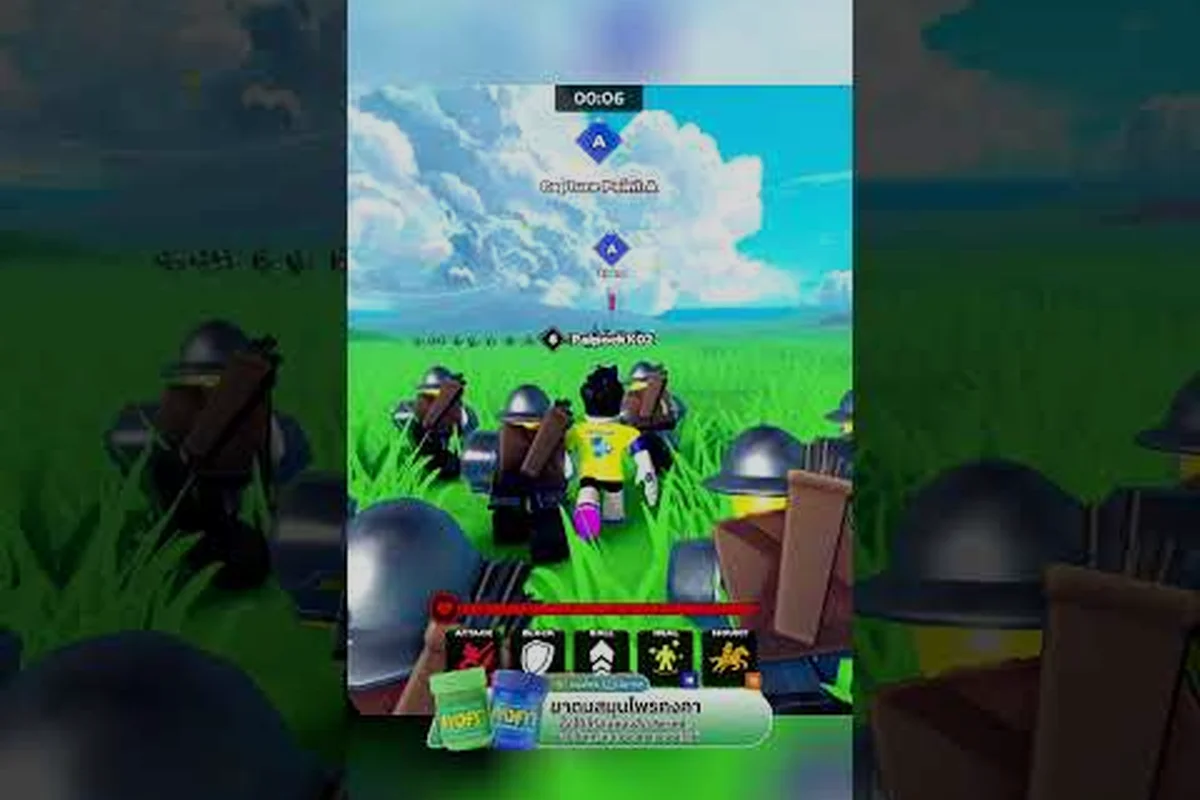
Command An Army Direct Troops: Formation Meta And Point Control
Take charge with Command An Army direct troops strategies, covering the 2026 formation meta, how to hold a point, and how to drive a successful attack on a point.
Command An Army How To Order Troops: Formation Timing And Kiting
Master Command An Army troop ordering with formation timing, kiting angles, and battle tactics that keep your squad alive during close fights and counter-pushes.
All Articles
Command An Army Micro Guide: Positioning, Kiting, And Zone Tricks
Sharpen your Command An Army micro guide skills with positioning basics, kiting tips, movement tricks, and zone control habits that turn small squads into winners.
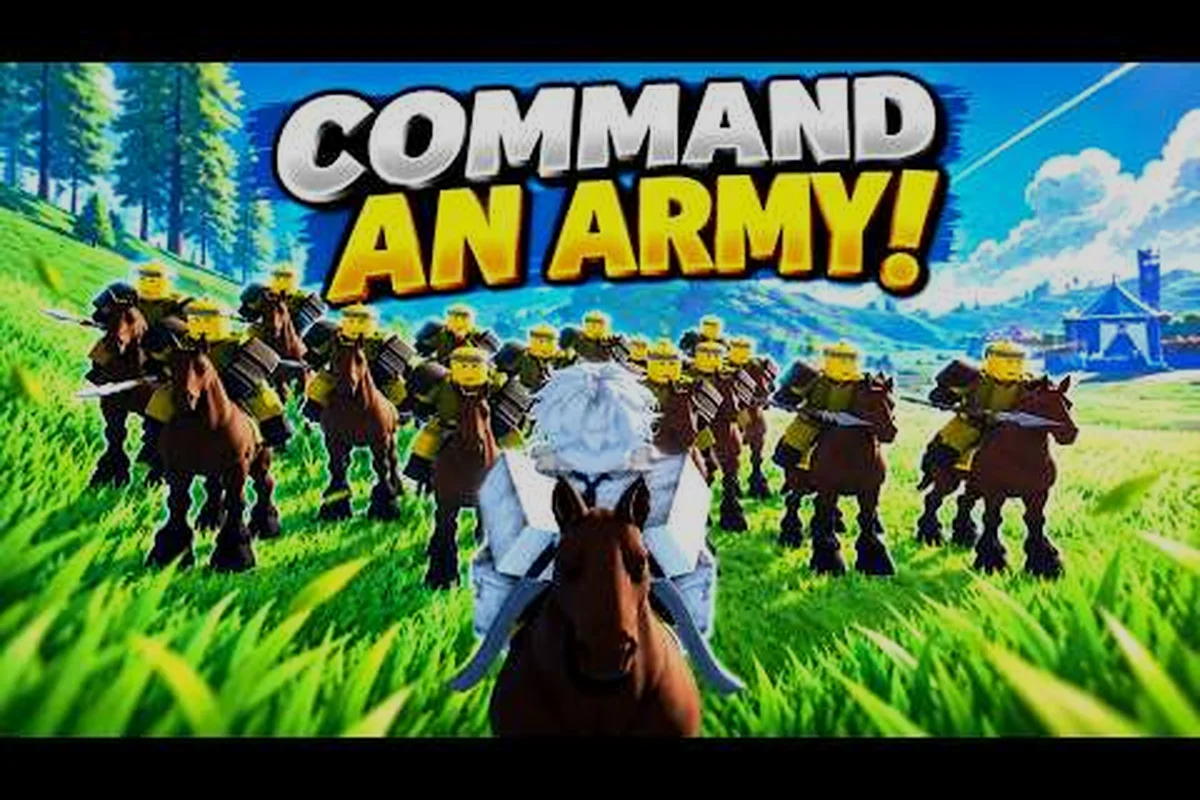
Command An Army Point Defense: Holds, Counter-Pushes, AI Commands
Lock down capture points with Command An Army point defense formations, counter-push timing, and AI command tricks that hold objectives under pressure.

Command An Army Surround Tactics: Flank Angles And Squad Commands
Break the enemy line with Command An Army surround tactics, using flank angles, squad commands, and AI control tricks to collapse formations from every side.
Command An Army Troop Formations: Follow, Hold, Attack, And Rush
Master Command An Army troop formations with a clear breakdown of Follow, Hold, Attack, and Rush plus the formation swaps that win close squad fights.