
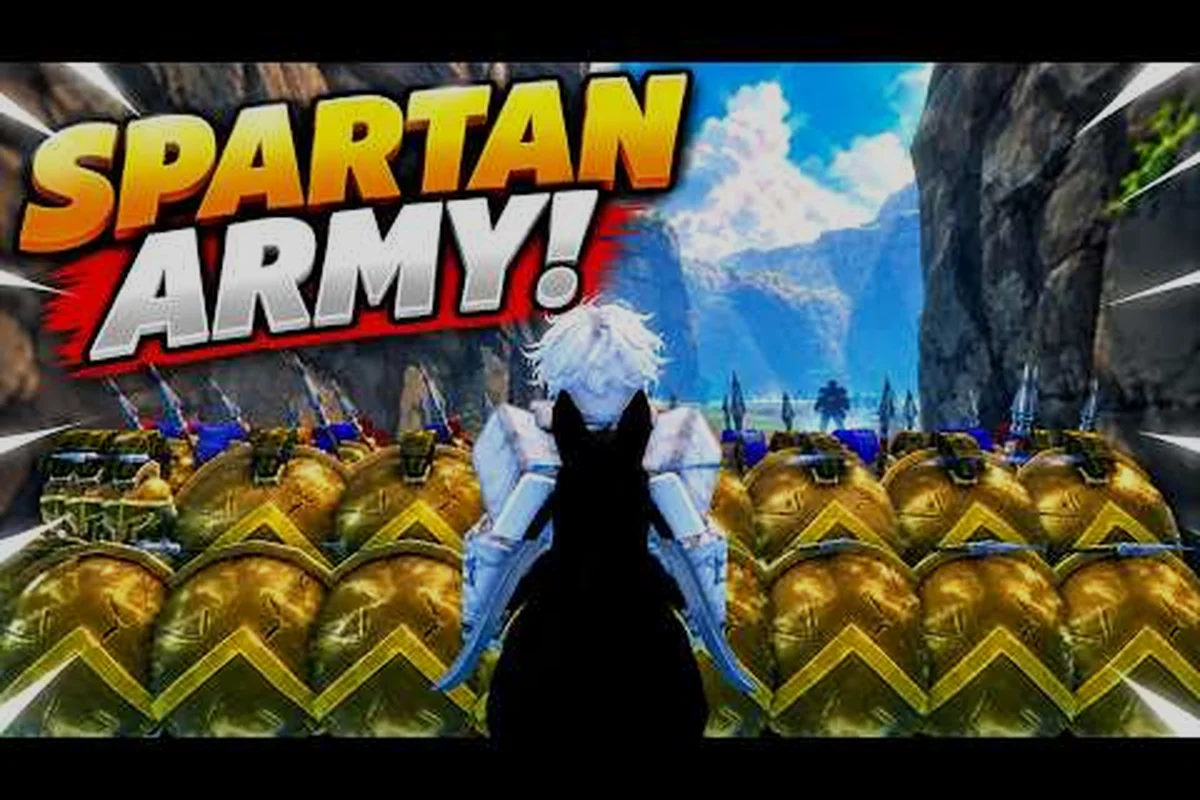
Tired of watching your squad scatter the second the enemy shows up? In Command An Army, the difference between a clean wipe and a chaotic brawl almost always comes down to which troop formation you bind to your keybind, and when you swap it. This formations guide breaks down the four core formation commands — Follow, Hold, Attack, and Rush — and shows you the exact swaps that win close squad fights on real match points. Players who nail these four stances tend to capture points faster and lose fewer troops per push, because every keybind tells your AI squad precisely how to interpret the next ten seconds of combat.
The Four Core Formation Commands Explained
Every match in Command An Army is decided by how you chain these four stances. The game hands you a squad of AI troops and four formation commands that each rewrite your squad's behavior: where they walk, when they swing, and how aggressively they pursue an enemy. According to the official Command An Army Roblox page, the game frames itself around "choose to attack or defend, recruit troops, capture points, and order formations" — meaning the formations are the actual verb layer of combat, not a cosmetic extra. Think of each command as a different answer to the same question: "What should my squad do right now?"
What The Follow Command Does
The Follow Command anchors your squad to your player model. Troops trail behind you at a short leash, re-aggro onto whatever you swing at, and do not chase stragglers past a small radius. This is your default travel stance and the one you should bind to a key you can hit reflexively, because toggling Follow off is what frees your troops to fight on their own.
-
Behavior: tight leash, passive targeting, no auto-pursuit
-
Best use: moving between points, regrouping after a lost fight, escorting a wounded squad back to spawn
-
Counter risk: extremely vulnerable to enemy cavalry, because Followed troops will not kite back
What The Hold Command Does
The Hold Command roots your squad in place. Troops plant their feet on the current tile, switch to defensive targeting, and only swing at enemies that walk into their threat range. Hold is the backbone of any good defense and the most underused stance in early matches, because most new players assume staying alive means staying mobile.
-
Behavior: stationary, defensive targeting, no chase
-
Best use: defending a captured point, buying time for a teammate's reinforcement wave, holding a chokepoint while you flank
-
Counter risk: if the enemy uses Rush from off-angle, your Held troops die before they can swing
What The Attack Command Does
The Attack Command sends your squad toward the nearest enemy unit or contested objective. Troops break formation, run to the closest hostile, and engage until either the target dies or they take a long path back to you. Attack is the bread-and-butter offensive stance, and it's the command you will press most often in mid-fight.
-
Behavior: aggressive targeting, mid-length leash, auto-repath toward nearest enemy
-
Best use: committing to a push, reacting to a teammate's engage, breaking a Held enemy line
-
Counter risk: Attack-troops overextend into crowds, so without a follow-up Hold swap your squad will trickle-feed into enemy lines
What The Rush Command Does
The Rush Command is the nuclear option. Troops sprint in a tight column toward the player's aim direction, ignore everything that is not directly in their sprint path, and crash into the targeted zone. Rush is best reserved for a decisive point capture, a clean wipe on a clustered enemy squad, or a clutch re-take when the timer is about to flip.
-
Behavior: sprint, single-target vector, ignore most threats
-
Best use: last-second point re-takes, breaking a stalemate, punishing an enemy squad that just burned cooldowns
-
Counter risk: extremely high casualty rate if used into a prepared Hold line; Rush trades troops for tempo
Command An Army Best Formation Picks By Squad Role
Picking the command an army best formation for a given squad is about matching stance to your troop class mix, not about always pressing the same key. According to All Things How's breakdown of Star Limits and Classes, each troop class — Melee, Ranged, Cavalry, and Special — interacts with formation commands differently. Ranged troops on Follow will trail behind you and rarely shoot, while the same troops on Hold become a static firing line. Cavalry on Rush becomes an unstoppable crash, but Cavalry on Hold is a wasted speed stat sitting still. The table below maps each class to the formation command that plays to its strengths.
| Squad Class | Best Primary Command | Best Swap Command | Why It Works |
|---|---|---|---|
| Melee | Attack | Hold | Melee needs targets, but swings longest when the squad is not chasing a fleeing unit |
| Ranged | Hold | Attack | Stationary ranged troops output max DPS; swap to Attack only when an enemy overextends |
| Cavalry | Rush | Attack | Cavalry excels at the crash vector; Attack is the safer fallback when Rush is off cooldown |
| Special | Follow | Hold | Special troops have unique utility — keep them Followed so their ability triggers near you, then Hold for a setup |
If you want a deeper dive on how class mix changes your push order, the command an army direct troops guide breaks down the meta for mixing classes inside a single squad — for instance, pairing a Ranged Hold line with Cavalry on Rush lets your riders crash while the firing line suppresses, and a Melee Attack wing absorbed on the flank prevents the enemy from collapsing the burst window.
Reading The Match: When To Swap Formations Mid-Fight
A formation you never swap is a formation that gets punished. The real skill in command an army formations guide play is reading the next 5 seconds of the fight and toggling stances before the enemy does. Most squad wipes happen because one player leaves their troops on Follow while the enemy uses Rush, or leaves them on Attack while the enemy turtles with Hold. Swapping is free and instant, so treat your formation keybind like a tempo tool.
| Game Situation | Correct Command | Wrong Command | Why The Swap Wins |
|---|---|---|---|
| Walking back to a point | Follow | Attack | Attack forces stray fights on the route, costing troops |
| Enemy captures your point | Rush | Follow | Rush reclaims the point before they dig in |
| Mid-fight brawl, equal numbers | Attack | Hold | Holding lets the enemy disengage and reset |
| Enemy pushes with cavalry | Hold | Follow | Followed troops get trampled; Held troops brace |
| You just wiped the enemy | Hold | Rush | Holding the wipe point secures cap progress; Rush overextends |
| Timer about to flip in your favor | Hold | Attack | Hold stalls the enemy on respawn so the timer ticks |
The Three-Second Rule For Swaps
The fastest way to internalize formation swaps is to think three seconds ahead. If you can predict where the fight will be in three seconds, you can pre-swap the right formation. If the enemy squad is mid-Rush toward your point, you have about three seconds to swap from whatever you were holding into a bracing stance, ideally Hold, before the crash lands. If you are pushing a weak enemy point, the same three-second window is the time to swap from Follow into Attack as you cross the threshold, so your troops commit the moment contact happens. The mental loop is simple: read the next three seconds, pick the command, press the keybind, and watch your squad execute.
While the three-second rule focuses on the swap timing itself, the broader decision tree also factors in pre-positioning your squad relative to cover, line-of-sight, and the chokepoint you intend to contest, since the command an army how to order troops guide layers positioning on top of these stance swaps. A Hold swap at a bad angle still loses to a Rush that flanks, whereas an Attack commit through a narrow gate wins trades even if the swap keybind lands a half-second late. The practical takeaway is to treat the formation keybind as a timing trigger and the order itself as the spatial frame: swap first, then walk the squad into the geometry you want, not the other way around. This is why top players describe the two layers as "when to press it" versus "where to be standing when you do."
Formation Mistakes That Lose Matches
Most lost matches in Command An Army come from the same handful of formation errors. Fixing these is faster than grinding more troop unlocks, because the underlying troop AI is identical — only the stance changes. The list below is the bug-bash checklist that experienced players run through between rounds, and it is the same checklist community testing keeps surfacing in player discussions.
-
Leaving the squad on Follow during a fight. Follow is a travel stance; pressing it mid-combat makes your troops ignore nearby enemies and trail behind you, which is the single most common reason squads evaporate in close fights.
-
Using Rush to start every push. Rush burns troops for tempo. Use it as a finisher on a weakened point, not as the opener, or you will run dry before mid-game.
-
Holding forever on defense. Hold is great, but if you never swap to Attack, the enemy will flank you and your troops will not reposition. Even defenders need periodic Attack swaps to peel off threats.
-
Not swapping when the enemy swaps. The moment the enemy swaps to Hold, you should swap to Rush. The moment the enemy swaps to Rush, you should swap to Hold. Reading the enemy's stance and countering it is the entire skill ceiling.
-
Binding all four commands to awkward keys. If you cannot press your Hold keybind while strafing, you will never use Hold in a real fight. Rebind to a comfortable key before queuing.
Formation Mistakes By Match Phase
| Match Phase | Most Common Mistake | Correct Command | Why |
|---|---|---|---|
| Early game | Using Rush on the first capture | Attack | Save Rush for mid-game, when the enemy is committed |
| Mid game | Leaving Follow on while pushing | Attack | Attack commits troops to the cap fight |
| Late game | Holding too long on a lost point | Rush | If the point is lost, Rush-trade and re-cap elsewhere |
| Overtime | Defaulting to Follow while panicking | Hold | Overtime wins are almost always Hold-based stall wins |
Advanced Formation Chains And Tempo Plays
Once you have the four commands on muscle memory, the next layer is chaining stances within a single engagement. A chain is a scripted sequence of swaps — for example, Follow into Attack into Hold — that converts one keybind per second into a coordinated squad play. The best chain in command an army troop formations play is the three-step Reclaim Chain, which is the gold-standard response to losing a point mid-match.
The Reclaim Chain (Three Swaps In Four Seconds)
-
Step 1 — Follow (1 second): the moment you spawn or reset, snap to Follow so your squad trails you cleanly toward the lost point. No stray fights on the route.
-
Step 2 — Attack (1 second): as you cross into cap range and spot the enemy squad, swap to Attack. Your troops break leash and commit to the nearest hostile, which is the cluster of enemies on the point.
-
Step 3 — Hold (2 seconds): the instant the enemy squad is down or fleeing, swap to Hold. Your troops plant on the point and start capping, ignoring any reinforcements because they are outside Hold range. The timer now ticks in your favor.
The Stall Chain (For Defending A Lead)
-
Step 1 — Hold (as long as possible): plant your squad on the contested point. Enemy pushes bounce off your defensive targeting.
-
Step 2 — Attack (1 second): the instant a single enemy overextends past their squad, swap to Attack. Your troops collapse onto the isolated target for a quick pick.
-
Step 3 — Hold (again): swap back to Hold the moment the pick lands, so you do not chase the rest of the enemy team into a counter-Rush.
When To Ignore The Chains And Just Rush
Chains are tempo tools, and tempo does not matter when you are about to lose. If the timer is in the enemy's favor and you need a Hail Mary, raw Rush straight from spawn is the correct call, because the alternative is a slow loss. Chains optimize the average case; Rush wins the worst case.
For the mode-specific question of when Rush beats chains, the command an army best game mode breakdown maps each map's capture geometry, base layout, and timer length to the cutoff where raw Rush outperforms chained formations — so on long-lane Conquest layouts with a ticking clock you skip chains entirely, while on tight Skirmish arenas the chain tempo still wins.
Frequently Asked Questions
What is the command an army follow command best used for?
The Follow Command is best for travel between points, regrouping after a lost fight, and escorting a damaged squad back to spawn. It keeps troops on a tight leash around your player, so they only fight what you engage. It is a poor choice during active combat because Followed troops will not kite back from cavalry or chase low-HP targets.
When should I use the command an army hold command?
Use the Hold Command whenever you are defending a captured point, stalling a timer in overtime, or bracing against an enemy Rush. Held troops plant in place and only swing at enemies that enter their threat range, which makes them excellent at chokepoints and point-defense scenarios. Swap out of Hold the moment the enemy retreats, or your squad will not peel after them.
How does the command an army attack command differ from rush?
The Attack Command sends your squad toward the nearest enemy at a normal run speed and keeps them on a mid-length leash, so they re-aggro and re-path as targets swap. The Rush Command sends your squad sprinting in your aim direction in a tight column, ignoring most threats along the path. Attack is the steady offensive option; Rush is the high-cost, high-tempo finisher.
Is rush ever the wrong call in command an army troop formations?
Yes, Rush is the wrong call when used as an opener, when the enemy is already Held in a defensive line, or when your squad is below half strength. Rush trades troops for tempo, so feeding it into a prepared defense will wipe your squad before they reach the point. Save Rush for re-takes, stalemate breakers, and clutch overtime plays.
What is the command an army best formation for mixed squads?
For a mixed squad of Melee, Ranged, Cavalry, and Special troops, the command an army best formation default is Attack, with swaps into Hold when defending and Rush when re-taking. Mixed squads benefit from Attack's flexible targeting because no single class is wasted while the squad waits for the right swap moment. Once the formation layer is comfortable, layering direct positioning on top will lift your win rate even further.