
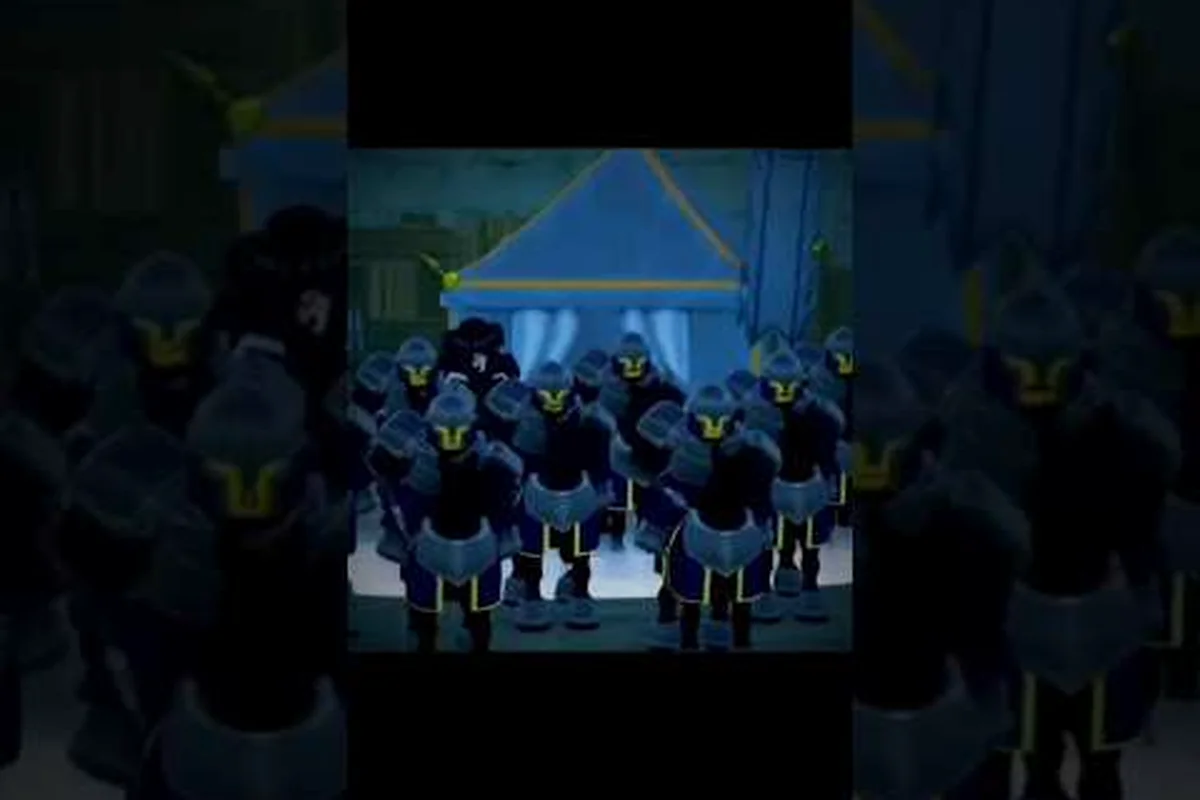
If you keep losing squad fights in Command An Army even when your numbers look stronger, the gap is almost always micro, not macro. This Command An Army micro guide breaks the small-unit decisions that decide every push: where your troops stand, how they kite, and which zone of the map you actually own. By the end you will have a clean set of habits that lift even a small squad into winning trades.
The four formation commands in the game — Follow, Hold, Attack, and Rush — only feel different when micro is layered on top, and All Things How's breakdown of Star Limits and Classes is a useful reminder that each unit type still obeys the same positioning rules. Use this guide as the layer you place on top of your build order.
Micro Vs Macro In Command An Army: What Actually Matters
Before tweaking any single keybind, you need a clear picture of what the game rewards at the squad level. Macro is your build order — how many troops you recruit, which classes you stack, and which formation you set as default. Micro is everything that happens after the order is given: where a squad walks, when it stops shooting, and how it peels off a losing fight.
A solid command an army macro guide view is that the round begins in the first 15 to 20 seconds with recruitment, then transitions into micro the moment the lines meet. Players who skip micro lose fights they should win on unit count. Players who only micro without a plan lose the late game when they run out of respawns.
The Three Micro Layers You Will Juggle
Think of micro as three separate dials you can turn every few seconds — positioning depth, kiting distance, and zone control — and the game never tells you about them, but every winning squad rotates them in roughly this order: secure a capture point first, then kite to thin the overextended melee blob, then reposition onto the next objective as the capture timer expires. The 5-to-10-second decision cadence forces you to deliberately surrender one layer (usually zone control) to gain another (usually positioning), and ignoring that tradeoff is the single fastest way to fall behind a competent opponent in any command an army match.
-
Positioning — where your troops are standing relative to the enemy frontline, terrain, and capture points
-
Kiting — when you tell a ranged squad to back up so a melee squad has to overextend before they can swing
-
Zone control — which lanes, chokepoints, or capture circles you are physically occupying at a given second
A clean command an army micro guide mindset is that you are always choosing which of these three layers to push for, and which to give up, every 5 to 10 seconds — so on a 3-second capture circle you will usually burn those ticks on zone control while letting kiting distance degrade, then snap-position onto the next objective as the timer drops below 1 second, accepting that the overextended melee blob gets one free swing on your rearguard. Reading that tradeoff in real time is what separates a squad that caps two points per minute from one that flips the same lane three times and still loses the tick.
| Layer | What You Control | Typical Win Condition | Common Mistake |
|---|---|---|---|
| Positioning | Stagger depth, spacing between squads | Reach enemy range first without taking free damage | Stacking all squads in a single blob |
| Kiting | Retreat distance, re-engage timing | Force melee enemies to walk into ranged fire | Backing up too far and losing capture progress |
| Zone Control | Lane choice, capture point presence | Hold a circle for 3+ seconds uncontested | Splitting squads across two weak zones |
Positioning Fundamentals: Stagger, Spread, And Stagger Depth
Positioning is the layer most players think they already understand, because it looks like common sense. The trick in Command An Army is that the game is built around mixed squads, and mixed squads want different shapes, so a player who only ever tested pure melee blobs on Skirmish map A will see their formation collapse the moment they add 2 ranged units behind the frontline — the ranged row needs 2-3 tiles of separation or its projectiles clip allies, but the melee block needs to stay within 1 tile to keep swing arcs overlapping, and those two spacing rules directly fight each other on the same grid.
A pure melee squad wants to be a tight block so its swings connect at the same time. A pure ranged squad wants to be a wide line so more arrows or bullets land at once. A mixed squad — which is what most players actually field — has to compromise, and that compromise is where most squads fall apart. The standard move is to keep melee in front as a 1-squad-deep line and ranged 2 to 3 units behind, which is the baseline a troop ordering reference like this one covers in more detail.
The Two-Squad Stagger Pattern
The most reliable opener is to field exactly two squads and stagger them by about one body length. The front squad soaks the first clash and gives the back squad a clean ranged volley. Once the front squad starts dropping, the back squad steps forward, the remains of the front squad fall back, and you repeat. This is the most basic version of a command an army positioning guide habit, and it works because it never lets your ranged units take a free melee swing.
-
Front squad: 3 to 4 melee units in a single line, Hold command
-
Back squad: 2 to 3 ranged units, Attack command, but positioned manually
-
Gap: roughly one body length, which is enough that melee units do not block arrow paths
-
On first casualty: pull front squad back with Follow, push back squad forward
Spacing Mistakes That Look Small But Lose Fights
A squad that bunches up takes splash damage from any AoE special the enemy fields. A squad that spreads too thin loses formation and gets picked off one by one. The fix is to watch the actual unit shadows, not the squad icon. If two melee units are overlapping, the back one is wasting swings. If two ranged units are more than a body width apart, one of them is firing into empty space.
| Spacing | Result | When To Use It |
|---|---|---|
| Overlapping (same tile) | Blocked swings, wasted specials | Never, even on tight chokepoints |
| Tight (one body width) | Synced swings, strong on capture points | Holding a circle against a bigger squad |
| Medium (1.5 to 2 widths) | Default mixed-squad spacing | Most open-field engagements |
| Wide (3+ widths) | Maximum ranged coverage, weak in melee | Late-game when you are pure ranged |
Kiting Tips: How To Make Ranged Squads Earn Their Cost
Ranged units in Command An Army look overpowered on paper, but they fold instantly if you let a cavalry squad reach them. The discipline that keeps them alive is called kiting, and it is the most underrated skill in any command an army kiting tips list.
Kiting is not about running away. It is about retreating a fixed distance, then turning around to fire one clean volley, then retreating again. The retreat length should match the distance an enemy melee squad covers in about one second. If you retreat too far, you give up the capture point. If you retreat too little, the enemy reaches you and your ranged units stop firing to swap animations.
The Three-Step Kite Loop
Every kite is the same three steps on repeat — read gap, step back, fire one volley — and once your thumb internalizes the loop as one motion, you stop bleeding focus to individual decisions. The full cycle actually runs about four seconds against a charging melee blob, which is why mistimed kiting collapses into a panic retreat instead of a clean disengage. Treat it like a rhythm you can count, not three micro-prompts you have to think through, and the ranged squad will keep its damage uptime while the melee catch-up AI wastes steps breaking pursuit. This is the core habit that turns the standard kiting micro from a chore into a background process in any command an army micro guide.
-
Read the gap — check the distance between your ranged squad and the closest melee enemy
-
Step back once — use Follow with your character to drag the squad back one body length
-
Fire one volley — let the ranged squad auto-fire once, then repeat from step 1
A common trap is kiting in a straight line, which lets the enemy cut the corner and reach you faster. Instead, kite at a slight diagonal toward a piece of terrain, so the enemy has to either swing wide or eat one more volley. This is one of those gameplay habits that beginners skip entirely, and it is the single biggest reason new players feel like ranged units are "weak."
When To Stop Kiting
Kiting has a shelf life. Once the enemy has committed two melee squads to chase you, your ranged squad is the one taking free damage because the front line is collapsing. The correct move is to swap into zone control, which we will cover in the next section, and let your ranged squad stand its ground behind a chokepoint. Trying to kite forever is how you lose a fight you should have stalled.
| Situation | Kite Or Hold | Why |
|---|---|---|
| 1 melee squad chasing your ranged squad | Kite | You can win the trade on damage |
| 2+ melee squads chasing your ranged squad | Hold behind terrain | Further kiting splits your team |
| Enemy has 0 melee, only ranged | Stop kiting, push forward | You outrange them by default |
| You control a capture point | Kite toward the circle | You buy time without losing ground |
Movement Tricks: Walking, Pathing, And Line Breaks
Movement in Command An Army is automatic once you give a command, which is exactly why a command an army movement guide is so useful. Players assume the pathing is smart. It is not. The game sends your squad in a straight line to the target tile, which means a squad walking across an open lane will eat every attack the enemy has ready.
The fix is to break long moves into short segments using the Follow command on your own character. Instead of clicking across the map, you click one or two tiles ahead, then click again when the squad arrives. This gives you manual pathing control, lets you peek around corners, and forces the enemy to keep re-aiming.
The Peek-and-Pull Movement Pattern
This is the highest-value movement habit in the game and the one that separates average players from the squad leaders in every lobby. You use your own character as bait, peek a corner to draw enemy attention, then pull back the moment ranged fire starts coming in. Your squads then take the safer path while the enemy wastes a volley on empty space.
-
Stand just behind a wall or ridge, in cover
-
Click Attack on the enemy position to mark the target
-
Step your character forward by half a body length, then back
-
Watch the enemy squad rotate to face you
-
While they are aimed at you, click your squads forward through the safer lane
This trick compounds with kiting. If you peek wrong and take damage, kite back along the wall. If you peek right and the enemy overcommits, push your squads through before they can react. The principle is the same one that mode-specific attack and defense lineups reward, just applied at squad level.
Pathing Around Terrain
Chokepoints, bridges, and the edges of capture points all slow pathing. Use this. A squad walking through a narrow chokepoint is half a second slower than one walking through open ground, and half a second is often a full volley. Force the enemy to take the chokepoint while your own squads walk the open path, and you get a free round of damage before the lines even meet.
| Terrain Type | How Enemy Pathing Slows | Your Counter |
|---|---|---|
| Narrow bridge | Squads bunch up, lose 1 sec per unit | Stand your ground and fire while they queue |
| Capture circle edge | Units pause for the capture tick | Sit on the edge, force them to push in |
| Wall corner | Line-of-sight breaks, squads reroute | Peek, bait a swing, then walk around |
| Open plain | No slowdown, free pathing | Use terrain to force a chokepoint elsewhere |
Zone Control: Winning The Map, Not Just The Fight
The last layer is zone control, and it is the one most players ignore because it is the least flashy. Winning a fight is good. Winning a fight while your team captures two points in the background is better. The job of micro in the late game is to make sure your squad is always standing on a tile that matters, not just on a tile that feels safe.
A command an army zone control mindset treats the map as a set of overlapping circles. You are not trying to hold all of them. You are trying to hold the ones that block the enemy's next move while letting your team hold the rest. This is the same map-positioning principle behind a map tactics guide, just practiced at squad level.
The Three Zones Every Map Has
Almost every Command An Army map rotates around three overlapping zone types — even when the labels look different on a Push, Hold, or Escort variant. Once you can spot the spawn, contest, and capture bands on the minimap, you stop walking into lane-bleed fights you should have avoided, because zone control in this micro guide is the single biggest predictor of mid-game trades and late-round swing fights. The trick is that these zones are defined by capture-tick radius and respawn-timer overlap, not by visual markers alone.
-
Spawn zone — your back area, where recruitment and respawn happen
-
Contest zone — the middle band, where most fights break out
-
Capture zone — the high-value circles that win the round
The micro skill is to keep one squad in your spawn zone as insurance, contest the middle with your main force, and only ever leave the capture zone when a squad is actually capturing. When the enemy overextends into your spawn, your reserve squad catches them from behind. When the enemy retreats to defend, you push the capture with everything else.
Zone Rotation Triggers
Do not rotate zones on a timer. Rotate on triggers. The four triggers that almost always tell you to switch zones are: your squad drops below half health, the enemy squad rotates away, a capture circle becomes uncontested, and a friendly squad pushes past you. Each trigger is a permission slip to either kite back, push forward, or shift to a different lane entirely.
| Trigger | Your Next Move | What You Are Buying |
|---|---|---|
| Squad under 50% HP | Kite back to spawn zone | Time to respawn and regroup |
| Enemy squad rotates away | Push the capture zone | A free capture tick |
| Capture circle is uncontested | Move one squad onto it | Map pressure without a fight |
| Friendly squad pushes past you | Follow the push, support from rear | A clean numerical trade |
Putting It All Together: A Micro Checklist For Real Fights
A clean command an army micro guide is not a wall of theory. It is a checklist you can run every 5 to 10 seconds without thinking. The five-line checklist below is the one most squad leaders in the community use, and it is what separates a clean push from a chaotic brawl.
-
Stagger — front squad holds, back squad fires, gap is one body length
-
Kite — if melee closes on your ranged squad, step back once and fire one volley
-
Peek — use your character to bait one enemy rotation, then push your squads through the open lane
-
Rotate — if a capture circle is empty, move a squad onto it before you take the next fight
-
Reset — if your squad drops under half health, kite back toward spawn, do not re-engage
Run this list every 5 to 10 seconds, and you will start to feel the rhythm of a real Command An Army round. The same micro rhythm that helps players win consistently is just these five checks stacked on top of each other.
A 30-Second Micro Drill You Can Run Solo
If you want to actually build the muscle memory, run this 30-second drill in any casual match before you start trying to win. It covers positioning, kiting, and zone control in one short loop and costs nothing if you mess up.
-
0 to 5 sec: recruit one melee squad, set Hold on the closest capture point
-
5 to 10 sec: recruit one ranged squad, place 2 body lengths behind the melee squad
-
10 to 20 sec: as soon as the enemy appears, kite the ranged squad back one step, fire one volley
-
20 to 25 sec: after the volley, push both squads forward together through the safe lane
-
25 to 30 sec: end the drill by stepping your character behind cover, reset the squads to Follow
Run this three or four times in a row at the start of a play session, and the order of operations stops feeling like five separate decisions. The official Command An Army page on Roblox is a good place to jump into a fresh match for exactly this kind of warm-up.
Frequently Asked Questions
What is the fastest way to improve at micro in Command An Army?
Run the 30-second micro drill at the start of every play session, focusing on the stagger between your melee and ranged squads. Once the stagger feels automatic, add kiting, then zone rotation. Most players skip the drill and try to learn micro in real ranked matches, which is why the same mistakes keep showing up.
Should I kite with melee squads or only with ranged squads?
Only kite with ranged squads, because melee squads lose damage the moment they stop walking forward. If a melee squad is being kited by the enemy, the correct response is to hold ground and let your ranged squad fire, then push as soon as the enemy stops backing up. Kiting with melee is a common trap that throws away your damage window.
How many capture points should my squad cover at once?
One squad per capture point is the minimum, two squads if you expect a direct fight. Splitting one squad across two capture points is worse than not covering either, because the unit count on each point is too low to hold it. If you are short on squads, hold one point and rotate, do not split.
When should I stop microing and start recruiting again?
Recruit as soon as your active squads are stable and the fight is in zone control mode, not in the middle of a kite. The first casualty wave is the most expensive moment of the round, and replacing units during that window is the single biggest macro decision that pairs with a micro guide like this one. A gameplay tips overview covers this timing in more depth.
Does Command An Army reward macro more than micro?
Macro decides the first 15 seconds and the last 15 seconds of a round, micro decides the middle 30 seconds where the fights actually happen. If your macro is solid but you keep losing the mid-game, the answer is more micro. If your micro is clean but you run out of units, the answer is more macro. The two layers only work when both are in sync.