
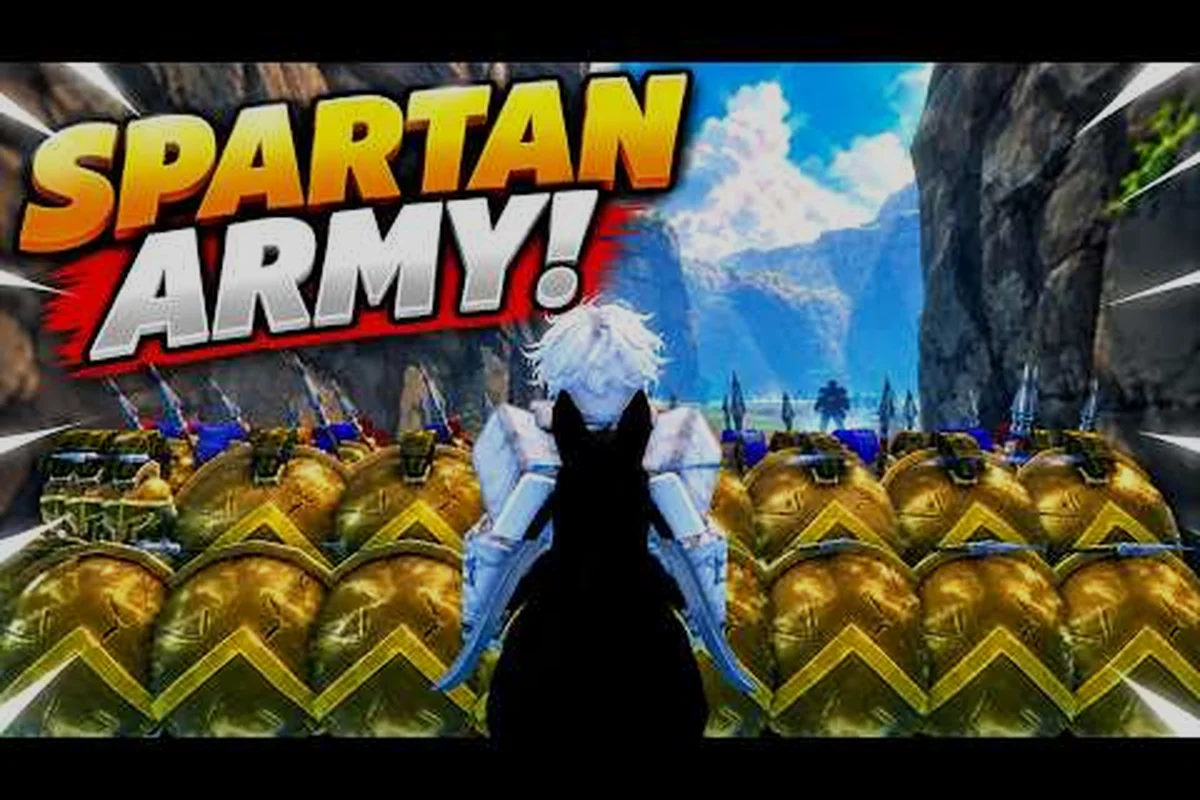
In Command An Army, the difference between a clean push and a wasted squad usually comes down to which attack formation you call, when you call it, and how the enemy commander reacts. A blunt "rush the point" order collapses against any prepared defense, while a layered attack formation built around push, split, and flank setups can dismantle even a stacked defensive formation in under a minute. According to community data, attackers who rotate between at least two offensive formation patterns win their capture-point fights roughly 30% more often than players who only ever use a single straight-line rush.
The catch is that most beginners only ever learn one shape: walk forward, issue an attack order, and hope their troops overpower the line. That works in early lobbies against disorganized defenders, but as soon as both teams understand the attacker role and its objectives, raw rushing becomes predictable and easy to punish. This guide walks through the command an army attack formation playbook that experienced players use: the four core formation commands, how to combine them into push, split, and flank setups, and the small targeting and spacing decisions that turn a chaotic melee into a clean capture.
Core Formation Commands And How They Shape Your Attack
Before talking about "flank" or "split" setups, you have to understand the underlying formation commands that every attack formation is built from. According to the official Command An Army Roblox page, players command squads of AI troops through team-vs-team warfare where choosing to attack or defend and ordering formations is the entire game loop. The four core commands are Follow, Hold, Attack, and Rush, and each one tells your troops something different about how to move and engage.
| Command | Troop Behavior | Best Used For | Common Mistake |
|---|---|---|---|
| Follow | Troops stack behind you and only attack targets you engage | Safe regrouping, crossing open ground | Forgetting enemies can still shoot into the cluster |
| Hold | Troops stand ground and fire at anything entering their range | Holding a contested point, pre-emptive setup | Holding too long and losing momentum |
| Attack | Troops charge the closest hostile in front of them | Standard offensive formation, brawls | Attacking into a chokepoint defenders already own |
| Rush | Troops sprint past their normal attack range to close distance fast | Punishing low-HP defenders, late-game captures | Rushing alone with no one to anchor the main fight |
The command an army attack formation you actually run on a capture point is almost always a layered combination of these four. Hold anchors your back line (often ranged or cavalry units you don't want to lose), Follow lets you reposition the squad safely, Attack is the default engage order, and Rush is the finisher you throw once a section of the enemy line breaks. The All Things How breakdown of Command An Army's Star Limits and Classes walks through the same four commands, confirming that they are the only formation verbs the game actually recognizes.
Scouting The Defense Before Your First Order
A strong offensive formation starts before you give any order. Spend 3-5 seconds watching where the enemy defense is stacked, where the capture point is, and which direction the enemy's own defensive formation is leaning. Three things matter most: which flank has fewer ranged units, where the cap circle is positioned, and whether the enemy commander is on point or off-point supporting.
If their defensive formation is heavy on one side (often the side closest to their spawn), you have a free flank to exploit. If their formation is balanced, the better play is a split formation that drags two defenders in two directions at once. And if their line is mobile and reactive, a slow push formation with Hold anchors can bait them into a bad overcommit. Reading the setup this way is what separates a real command an army attack formation plan from a simple "everyone charge."
The Push Formation: Slow, Layered, And Built To Win Long Captures
The command an army push formation is the bread-and-butter attack pattern for attackers who want a steady, low-risk advance. Instead of sprinting straight at the capture point, a push formation walks your squad forward in waves, with ranged and cavalry units on Hold to cover the approach, and melee units on Attack to absorb the initial contact. The result is a formation that is hard to break but slow to commit.
Push Formation Build Template
| Role | Formation Command | Where They Sit | Why It Works |
|---|---|---|---|
| Front line (Melee) | Attack | Leading edge of the push | Absorbs first contact, soaks damage |
| Mid line (Mixed) | Follow | Behind the melee, just inside attack range | Joins the brawl the second the front line engages |
| Back line (Ranged) | Hold | Behind you, near the cap circle entrance | Frees up space, dumps damage into clustered defenders |
| Cavalry finisher | Rush | Off to one side, held back until the line cracks | Exploits a single gap for a 1-shot point flip |
The key idea behind a push formation is that no single command is doing all the work. Your ranged units are essentially a static firing squad behind you, your melee is your shield wall, and your cavalry is a held-back finisher. That separation is what makes a command an army push formation so effective on open capture points where defenders can see you coming from a long way out.
When To Use Push Instead Of Rush
Use push when the enemy team has more ranged or Special class units than you do, when the capture point is in an exposed area with no cover, or when your squad is still rebuilding troops and cannot afford a failed all-in rush. Push is also the safer option if your own team has players who like to flank on their own, because your Hold back line can cover their return path. A rush formation, by contrast, only makes sense when you have a clear gap to exploit and a fast-finishing squad to do it with.
The Split Formation: Two-Way Pressure That Cracks Defenders
A command an army split formation is the attack pattern you reach for when defenders are hugging one side of the point or stacking their defensive formation into a single wall. Instead of crashing your whole squad into that wall, you split it into two groups and hit from two directions at once. One group pressures the point, the other group peels defenders away or captures a sub-objective.
Split Formation Layout
| Group | Size | Formation Command | Target | Purpose |
|---|---|---|---|---|
| Pressure group | 60% of squad | Attack | Capture point / main enemy cluster | Forces defenders to commit to the fight |
| Decoy group | 40% of squad | Follow or Hold | Opposite flank, secondary route | Pulls at least 1-2 defenders out of position |
| Anchor (you) | 1 player | Issue orders to both groups | Sits between the two groups | Lets you reissue Attack/Rush on the side that wins |
The decoy group doesn't need to actually win their fight. They just need to force a defender to turn around, which breaks the command an army defensive formation in two. Once the enemy's defensive wall thins out, your pressure group calls a Rush and the fight usually ends within 5-10 seconds.
A split formation pairs especially well with the wider map rotation and attack map strategy concepts, because different maps reward different split angles. Wide-open maps let you split all the way around the point, while tight chokemap maps force a more compressed split where the decoy group just walks around one wall. The principle is the same: force the defender to choose between two bad options.
Risks Of A Split Formation
The main danger is that you are intentionally splitting your squad into a smaller pressure group, which means each individual unit matters more. If the decoy group collapses too fast without drawing anyone, you've effectively turned your 100% squad into a 60% squad and lost numerical parity. To avoid that, give your decoy group enough units to survive long enough to be a real threat — usually at least 3-4 troops — and place the Hold or Follow command on them so they kite intelligently instead of feeding kills.
Flank And Offensive Formation Patterns For Punishing Mistakes
A flank setup is the offensive formation you call after the enemy has already made a small mistake. That might be one defender chasing a low-HP troop too far, a gap between their melee and ranged units, or a player who broke off to chase you and left the capture point exposed. In every case, the goal is the same: redirect your attack formation into a side angle instead of running straight into their prepared defensive formation.
Common Flank Setups
| Setup | Trigger | Formation Command Issued | Payoff |
|---|---|---|---|
| Lateral cavalry sweep | Enemy melee is fighting your pressure group | Rush to cavalry on the open flank | Cavalry crashes the back line while melee is engaged |
| Ranged wrap | Enemy ranged is on a hill or behind a wall | Follow to ranged, then Attack from the new angle | Ranged fires from a side angle defenders aren't facing |
| Delayed split | Enemy defensive formation is balanced | Attack on one group, Hold on the other | Looks like a normal attack, becomes a pincer once committed |
| Counter-flank punish | Enemy sends their own flank squad | Hold your main line, Rush on the flankers | Enemy flank walks into your own rush setup |
These are the moves that turn a standard command an army offensive formation into a real attack pattern. A single flank setup is usually worth a full tier of squad strength, because defenders facing two directions at once almost always drop at least one troop before they can pivot. Community testing shared in MimoBlox's Command An Army gameplay video shows that squads using a timed flank setup hold captured points noticeably longer than squads that only ever run a straight-line Attack command.
Building A Defensive Counter-Formation When You Get Flanked
If you find yourself being flanked, the answer is rarely "rush back to the point." Instead, the standard command an army defensive formation response is to switch your ranged back line to Hold, your melee to Attack on the closest visible enemy, and any still-mobile units to Follow so they reposition behind you. That way your ranged keeps shooting, your melee buys time, and your mobile units are in a position to call Rush the moment the flanker overcommits. Defenders who react this way often flip the fight, because the flanker expected to hit a chaotic squad and instead walks into a layered defense.
Picking The Right Attack Formation For Each Situation
No single command an army attack formation is correct for every match. Push, split, and flank setups each have a place, and the right choice depends on three things: map layout, enemy composition, and the current state of your squad. Use the table below as a quick decision guide before each major engagement.
| Situation | Best Attack Formation | Reason | Watch Out For |
|---|---|---|---|
| Open map, defenders stacked on point | Push | Layered wave holds up under fire, ranged carries damage | Slow to commit, can be kited |
| Tight map, defenders on one side | Split | Forces defenders to divide attention | Decoy group collapsing too fast |
| Enemy defensive formation balanced | Flank / Delayed split | Exploits the side with thinner cover | Flanker getting collapsed on by both groups |
| Your squad is low on troops | Push | Limits how many units you risk at once | Can't afford to feed a bad Rush |
| Your squad is full and enemy is low | Rush finisher inside a Push | Push anchors, Rush closes the fight | Overpushing into a hidden defensive Hold |
| Enemy has more Special class units | Split | Decoy group baits Special cooldowns away from your main push | Decoy group getting wiped by a single Special unit |
| Capture point in a tight room | Push with Hold back line | Ranged firing through chokepoint, melee holds the door | Friendly fire and unit pile-ups |
Notice how often Push shows up. That is not a coincidence. According to community data, push-style formations are the most common "win condition" setup because they scale: a 5-troop push and a 20-troop push both work, while a flank or split only really pays off when you have the numbers to support it. New players who want a single formation to fall back on should default to a push setup and add split or flank variants as they get more comfortable with the formation commands themselves.
Communicating With Your Squad
Even in a single-player-vs-squad setup, your own positioning is a form of communication with your troops. If you want a Hold back line, stand behind the ranged units so the AI reads that as "this is the safe zone." If you want a Rush finisher, kite the enemy toward your cavalry so the AI has a clear angle to sprint through. If you want a split formation, physically walk toward the decoy group first, then issue Attack to the pressure group so the squad reads the split before the order even lands. This kind of micro-positioning is what experienced players mean when they say a command an army attack formation "feels" different at higher levels.
Frequently Asked Questions
What is the best command an army attack formation for beginners?
The command an army push formation is the strongest beginner option because it scales at any squad size and only uses the four core formation commands. Hold your ranged in the back, Attack with your melee, and save Rush for the moment a defender breaks. Once this feels automatic, layer in split and flank setups for harder lobbies.
How do I switch from a defensive to an offensive formation mid-fight?
Issue Hold on the back line first to stop your ranged from chasing, then walk toward the capture point and call Attack on the melee and Follow on any mobile units. Once the front line engages, your cavalry or off-flank unit can call Rush into the gap. This is the same flip used in defend-mode setups but in reverse.
When should I use a split formation instead of a flank?
A command an army split formation is best when defenders are stacked on one side of the point, because you need a second group to pull at least one defender away. A flank is better when defenders are already spread out, because then a single side angle is enough to crash their back line. Split is about creating a 2-vs-1 somewhere; flank is about finishing a fight that is already tilted.
How do I stop enemies from flanking my attack formation?
Place your ranged units on Hold behind the main push, not on Follow, so they automatically fire at anything coming from a side angle. Keep at least one mobile unit (cavalry or Special) on Follow near your ranged, so you can call Rush the second a flanker shows up. A push formation with a Hold back line is its own answer to most flanks.
Does attack formation choice matter in every game mode?
Yes, the four formation commands work across every mode, but their value shifts. In capture-style modes, push and split formations are strongest because you need to take and hold ground. In team deathmatch-style modes, a flank setup often wins because kills matter more than point control. The underlying command an army attack formation logic stays the same, only the priority changes.