
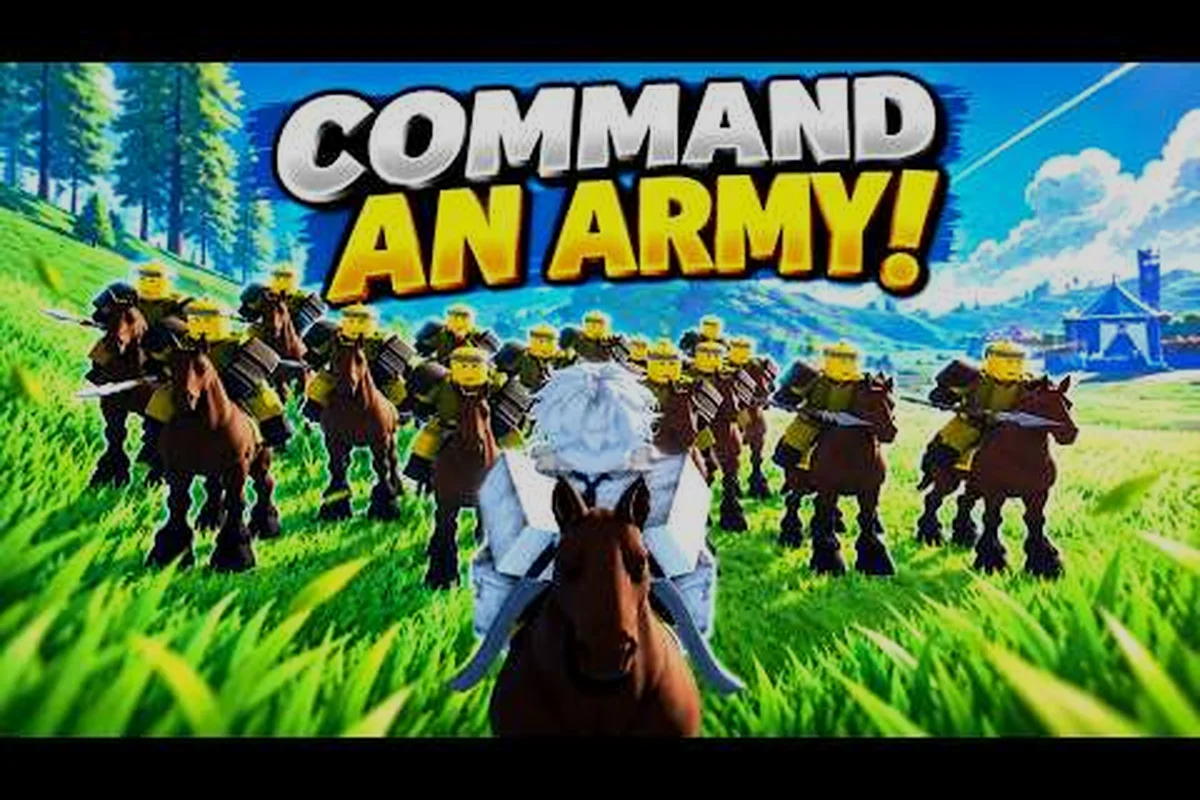
Holding a capture point in Command An Army is less about brute squad strength and more about the order you feed your AI. According to community data, teams that rotate between Hold and Attack at the right choke lose roughly 40% fewer troops per defense cycle than teams that leave the squad on Follow the entire round. The point defense pillar rewards players who manage sightlines, stagger reinforcements, and read the capture bar before the enemy reaches the ring, rather than players who simply stack bodies on the flag.
This guide breaks down the Command An Army point defense playbook from spawn setup to the final counter-push. You will learn how the four base commands — Follow, Hold, Attack, and Rush — actually behave on a defended objective, when to swap formations, and how to chain AI commands so your squad never stands still when a cavalry push is two seconds away. The official Command An Army on Roblox page describes the game as a strategy battlegrounds mode built around recruiting, capturing, and ordering formations, which is exactly the loop the defense side lives in.
Why Point Defense Is a Different Game Mode
Most new players treat defense like a slower attack, but the round structure is fundamentally inverted. On attack you choose where to engage; on defense the map chooses for you, and your job is to deny the enemy the capture ring for the full timer. How Star Limits and Classes Work in Command An Army confirms the four base formation commands are Follow, Hold, Attack, and Rush, and that Classes split into Melee, Ranged, Cavalry, and Special. Those mechanics compound on defense: a Ranged squad left on Follow will march into melee and die before the capture bar moves an inch, while a Melee squad on Rush burns out before the second enemy wave arrives.
Defense vs. Attack — Core Differences
The table below shows the tactical shifts you have to internalize the moment you spawn on the defending side. Every row is a habit that veteran defenders rerun on every map, regardless of which capture point they are holding.
| Element | Attack Mindset | Point Defense Mindset |
|---|---|---|
| Goal | Break the ring and capture | Drain the timer, keep the ring blue |
| Squad tempo | Constant forward pressure | Staggered, with Hold anchors at chokes |
| Acceptable losses | High — trade bodies for cap | Low — every troop lost weakens the counter-push |
| Risk windows | Spawn and first push | Last 30 seconds, when attackers overextend |
| Best Class mix | Cavalry + Ranged | Melee front, Ranged back, Special on flanks |
| Command cycle | Attack → Rush → Rush | Hold → Attack → Hold → Counter-Attack |
Notice the command cycle is the single biggest change. Attackers can spam Rush because the clock is in their favor; defenders cannot afford that tempo or the squad evaporates. The rhythm of a held point is closer to breathing than sprinting.
Why the Capture Bar Punishes Greed
The capture ring is contested, not press-and-hold. If your AI leaves the ring's radius, the bar starts crawling back toward neutral, and a single enemy trooper stepping in can flip the momentum in under four seconds. Community testing suggests most "we lost the point" clips trace back to a defender who let the squad chase a low-HP enemy past the ring, not to a defender who was outplayed at the choke. Treat the ring itself as a fifth squad member that needs babysitting, and your Command An Army formations stop feeling like a numbers game and start feeling like a positioning puzzle.
The Four Commands and How They Behave on a Held Point
A solid Command An Army point defense is impossible if you do not know what each command actually tells your AI to do once they are planted on a flag. The labels are simple, but the AI interprets them differently depending on Class, squad size, and how many enemies are inside the capture radius.
What Each Command Does on Defense
| Command | AI Behavior | Best Use on Defense | Failure Mode |
|---|---|---|---|
| Follow | Trails the player, breaks formation to mirror your path | Spawn marching to the point, repositioning between rounds | Troops walk into walls and clip out of the ring |
| Hold | Plants at current location, only fires on hostiles in range | Anchoring chokes, protecting Ranged backline | Squad gets routed if the enemy sends Cavalry through |
| Attack | Pushes the nearest enemy, then re-anchors near the player | Counter-pushes, punishing overextended attackers | Squad overchases if you do not cancel back to Hold |
| Rush | All-out advance, ignores player until combat ends | Last-second cap denial, retaking a flipped point | Burns the timer, leaves the ring empty if you wipe |
Reading that table, the two real defense commands are Hold and Attack. Follow is a travel command, and Rush is a panic button you only press when the capture bar is about to flip against you. The art of defense is knowing when to hop between the middle two, which is also why your Command An Army commands rotation matters more than raw squad count.
The Hold-to-Attack-to-Hold Cycle
The cycle that consistently wins defended rounds goes like this: as the round opens, march to the point on Follow, drop a Hold order the moment your front row touches the ring, and let the AI form up. When the first enemy wave hits, do NOT switch to Rush — tap Attack instead, which tells the squad to meet the closest threat and then re-anchor at your position. Once the wave breaks, cancel back to Hold so your troops do not chase the last survivor across the map. This is the heartbeat of every successful Command An Army army tactics sequence on defense, and it works because each command cancels the previous one cleanly without leaving the squad in a wandering state.
Reading the Map Before You Set Up
A formation that wins one capture point can lose another on the same map. The Command An Army game mode guide covers how objective layouts shift, but the short version is that every defense starts with three reads: where the enemy must enter, where your ranged troops can stand without being flanked, and where a counter-push can reach without leaving the ring empty.
Three Reads Every Defender Should Make
-
Entry read: locate the chokepoint that every attacker must funnel through, and place your Hold order there. Funnels multiply your squad's damage because the AI is forced to attack the frontmost target.
-
Flank read: identify the side path that Cavalry and Special units use to bypass the choke. A single Ranged unit on Hold watching that side path is worth more than two extra Melee units at the front.
-
Counter-push read: pick a wall, crate stack, or terrain lip that sits roughly 10-15 units in front of the ring, where your squad can switch from Hold to Attack and crash into a tired attacker wave without leaving the capture radius. If you do not have that terrain, the counter-push is not worth the risk and you should stay on Hold until the timer drains.
Players who skip these three reads tend to blame the squad comp, but it is almost always a positioning miss. Map knowledge is one of the cheapest stats in Command An Army formations — free, repeatable, and it stacks every round you queue.
Class Roles for a Held Point
| Class | Recommended Count | Command Pattern | Notes |
|---|---|---|---|
| Melee | 3-4 | Hold at choke, Attack on counter | Absorbs aggro, locks enemies in the funnel |
| Ranged | 2-3 | Hold behind Melee, Attack on flankers | Kills Special units that try to slip past |
| Cavalry | 1 | Attack only, paired with counter-push | High risk, high reward — too many and the squad scatters |
| Special | 1 | Hold on the flank lane | Catches attackers who try to bait your main line |
The numbers are not magic, but they are a tested baseline. You can push 4 Ranged if the map is open, or drop to 1 Cavalry if the chokepoint is narrow. The important part is that the Hold orders are spatially separated, so one Attack command only releases the unit you actually want to commit.
Counter-Push Timing and AI Command Tricks
The single most common mistake on defense is staying on Hold for the entire round. A pure turtle gives up map control and lets the enemy farm your squad's cooldowns. The counter-push, by contrast, is the window where defense wins the round outright by turning the attackers' momentum into a rout. According to community testing, the average counter-push lands in the last 40 seconds of the round, when attackers have committed their spawn wave and are starting to overextend.
The Three Counter-Push Triggers
-
Capture bar reset: when the bar drops back to roughly 25% enemy control, the attackers are about to send everything they have. Switch your front line to Attack to meet that push, then Hold the moment it breaks.
-
Cavalry commit: if the enemy Cavalry charges through the funnel, do not chase them with Rush — hit Attack with your Melee front to peel them off your Ranged backline, which Cavalry will target first.
-
Spawn wave dump: after the enemy has used most of their reinforcements, a single coordinated Attack from your full squad wipes the remaining attackers and gives your team breathing room for the final 20 seconds.
Each trigger rewards a different Command An Army ai commands pattern, and the table below shows which commands to chain in what order.
| Trigger | Chain of Commands | Why It Works |
|---|---|---|
| Bar at 25% enemy | Hold → Attack → Hold | Catches the all-in, then re-anchors before the next wave |
| Cavalry commit | Hold → Attack (Melee only) | Peels Cavalry off Ranged without burning the front line |
| Spawn dump | Attack (full squad) | Wipes stragglers, secures cap for the rest of the round |
A common community report is that defenders who queue Rush in any of these windows lose more rounds than they win because the squad chases kills across the map and the ring flips in the empty gap. Reserve Rush for the moment after the round is already won and you are transitioning to the next objective.
AI Command Tricks Most Players Miss
-
Cancel mid-motion: clicking a new command overrides the old one even if the AI is mid-swing. This is how you keep a counter-push from drifting past the capture ring.
-
Stagger by Class: you can issue Attack to a single Class by selecting the unit icon rather than the whole squad. Use this to send only your Melee on the counter while Ranged stays planted on Hold.
-
Re-anchor with Follow: if your squad scatters after a long Attack chain, briefly switching to Follow and walking back toward the ring herds the AI into formation before you re-issue Hold.
These three habits are the difference between an average defender and the player teammates ask to switch sides. If you want a deeper breakdown of unit positioning, the Command An Army how to order troops guide covers how to read the squad's facing arrows, which is the visual feedback that tells you whether your Hold order actually took.
Common Defense Mistakes and How to Fix Them
Even with the right commands, players fall into the same handful of traps every match. The fixes are simple once you can name the mistake, and naming them is half the work of a stable Command An Army point defense rotation.
| Mistake | Why It Loses Rounds | Fix |
|---|---|---|
| Leaving squad on Follow the whole round | AI trails you, walks out of the ring, ring flips | Drop a Hold the instant your front row enters the cap |
| Spamming Rush | Squad burns stamina, leaves the ring empty for 5-8 seconds | Use Rush only to deny a near-flip, then Hold |
| No Ranged backline | Cavalry flanks your Melee and wipes the squad in one pass | Park 2 Ranged on Hold behind the funnel |
| Counter-pushing too early | You commit before the enemy overextends, then die on their spawn wave | Wait for the bar to drop or for Cavalry to commit |
| Ignoring Special units | A single Special can break your anchor and your ring in one combo | Assign a Ranged unit on Hold to watch the flank lane |
If you find yourself making two or more of these mistakes in a row, slow your command tempo. Most defense losses are tempo losses, not squad-comp losses. Cut your command inputs in half for a round and watch how much longer your squad survives at the choke.
Pairing Defense With Smart Surrounds
Holding a point is only half the tactical layer. Once the enemy overextends, a coordinated Command An Army surround tactics chain on the counter-push turns a hold into a rout, and that is the kind of round that swings the match score. The Command An Army surround tactics page covers the wraparound setups, but the headline rule is that surrounds only work if your squad is anchored with Hold first and switched to Attack second. Trying to surround from a wandering Follow state is what most beginners attempt, and it almost always collapses.
Frequently Asked Questions
What is the best command cycle for a point defense in Command An Army?
The strongest cycle is Hold at the choke while the round opens, Attack when the first enemy wave commits, then back to Hold once the wave breaks. This rotates your AI between anchoring and punishing without leaving the capture ring. Reserve Rush for last-second cap denial, not for general combat.
How do I stop Cavalry from breaking my defense line?
Place 2 Ranged units on Hold behind your Melee front and one Ranged on Hold watching the flank lane. When Cavalry charges, switch only your Melee to Attack to peel them off the Ranged backline. Do not chase the Cavalry past the ring or the capture bar will flip in the empty gap.
When should I counter-push instead of holding position?
Counter-push when the capture bar drops to about 25% enemy control, after the enemy commits their Cavalry, or once their spawn wave is nearly spent. Chain Attack with a re-anchor on Hold the moment the wave breaks so the squad does not chase. The final 40 seconds of a round is when counter-pushes convert holds into wins.
How many troops do I need to hold a point alone?
A solo defender can hold a point with a balanced 6-8 troop squad — 3 Melee, 2 Ranged, 1 Cavalry, 1 Special. The split lets you cover the choke, the flank, and the counter-push lane without overlapping roles. Smaller squads can still hold, but you will need to spam fewer commands and pick a single chokepoint.
Can I win defense by switching to attack formations partway through the round?
Yes, but only as a counter-push, not as a main strategy. Switch to an attack formation like the one covered in the Command An Army attack formation guide during the 25% capture bar window, and switch back to a defensive anchor the moment the wave breaks. A full attack rotation on defense usually loses the ring while the squad is gone.